None of this is about being a careless parent. Car seats are genuinely hard to install correctly, the manuals are dense, and almost nobody is taught how to do it properly — you just figure it out in a parking lot with a crying newborn. The mistakes below are common precisely because they’re invisible: each one leaves a seat that looks and feels fine while quietly erasing much of the protection it’s supposed to provide. Let’s make the invisible visible.
Why “It Looks Fine” Isn’t Enough
A car seat doesn’t have to look broken to fail. In a crash, forces multiply in fractions of a second, and the difference between a seat that protects and one that doesn’t often comes down to an inch of movement, a strap routed through the wrong slot, or a clip sitting two inches too low. These aren’t dramatic, obvious errors. They’re small, reasonable-looking things that a confident parent glances at and approves — which is why the people most certain they’ve done it right are so often the ones with something to fix. The honest starting point is humility: assume you might have a mistake in here somewhere, because the odds say you probably do.
Mistake #1: The Seat Moves Too Much
Loose installation is the single most common error, and it’s the one parents are most likely to get wrong while feeling sure they got it right. The standard is strict: once installed, the car seat should move less than one inch side-to-side and front-to-back when you grab it at the belt path — the spot where the seat belt or lower-anchor strap passes through — and pull firmly. Most seats that “feel tight” actually fail this test, because vehicle seat cushions are soft and compress under load.
The fix is technique. Press down into the seat with your knee or hand to compress the cushion while you pull the strap or belt tight, then lock it off. A few related traps live here too. Don’t use the lower anchors (LATCH) and the seat belt at the same time — pick one method unless your seat’s manual specifically permits both. Remember that the lower anchors have a weight limit (based on your child’s weight plus the seat); once your child exceeds it, you must switch to a seat-belt installation. And because normal driving can gradually loosen even a good install, re-check the tightness about once a month, and whenever you move the seat between cars.
Mistake #2: Turning Forward-Facing Too Soon
For years, parents treated the second birthday as the green light to spin the seat around. The current guidance from both NHTSA and the American Academy of Pediatrics is different and clearer: keep your child rear-facing until they reach the top height or weight limit of their convertible seat — not merely until they turn two. For most modern seats, that limit isn’t reached until age three, four, or even later. Age two is a floor, not a goal.
The reason is physics, and it’s compelling. A rear-facing seat cradles a child in a crash, spreading the enormous forces across the entire back, neck, and head while supporting the skull. A forward-facing child, by contrast, is thrown against the harness, concentrating that force on a still-developing neck and spine. A young child’s head is proportionally huge and their neck ligaments are immature, so the protection gap is largest exactly when they’re smallest. The most common worry — that rear-facing kids look cramped with their legs folded up — isn’t a safety concern; children are comfortable and flexible in that position, and leg injuries in rear-facing seats are very rare. Roughly a quarter of children are turned forward too early. Don’t be in a hurry to give up the safest configuration your child will ever ride in.
Mistake #3: The Harness Is Too Loose — and the Winter Coat Trap
A harness that’s even slightly loose lets a child move dangerously in a crash, yet many parents under-tighten it out of a worry that snug means uncomfortable. The test is simple and decisive: the pinch test. After tightening, try to pinch the harness webbing horizontally at your child’s shoulder. If you can gather a fold of slack between your fingers, it’s too loose — tighten until there’s nothing left to pinch. A properly snug harness lies flat against the body with no give, and the great majority of children are perfectly content in it; the discomfort parents fear usually comes from twisted straps or a misplaced clip, not from correct tightness.
This connects to one of the most dangerous and least-known mistakes of all: bulky winter coats under the harness. A puffy coat looks secure when you buckle it, but in a crash the padding instantly compresses flat, leaving inches of slack in a harness that passed the pinch test over the jacket. NHTSA’s guidance is explicit — buckle your child into the seat first in their regular clothes, tighten properly, and then lay the coat or a blanket over the harness for warmth. The same caution applies to thick padding or inserts behind or under a baby: never add anything that didn’t come with the seat or isn’t approved by its manufacturer.
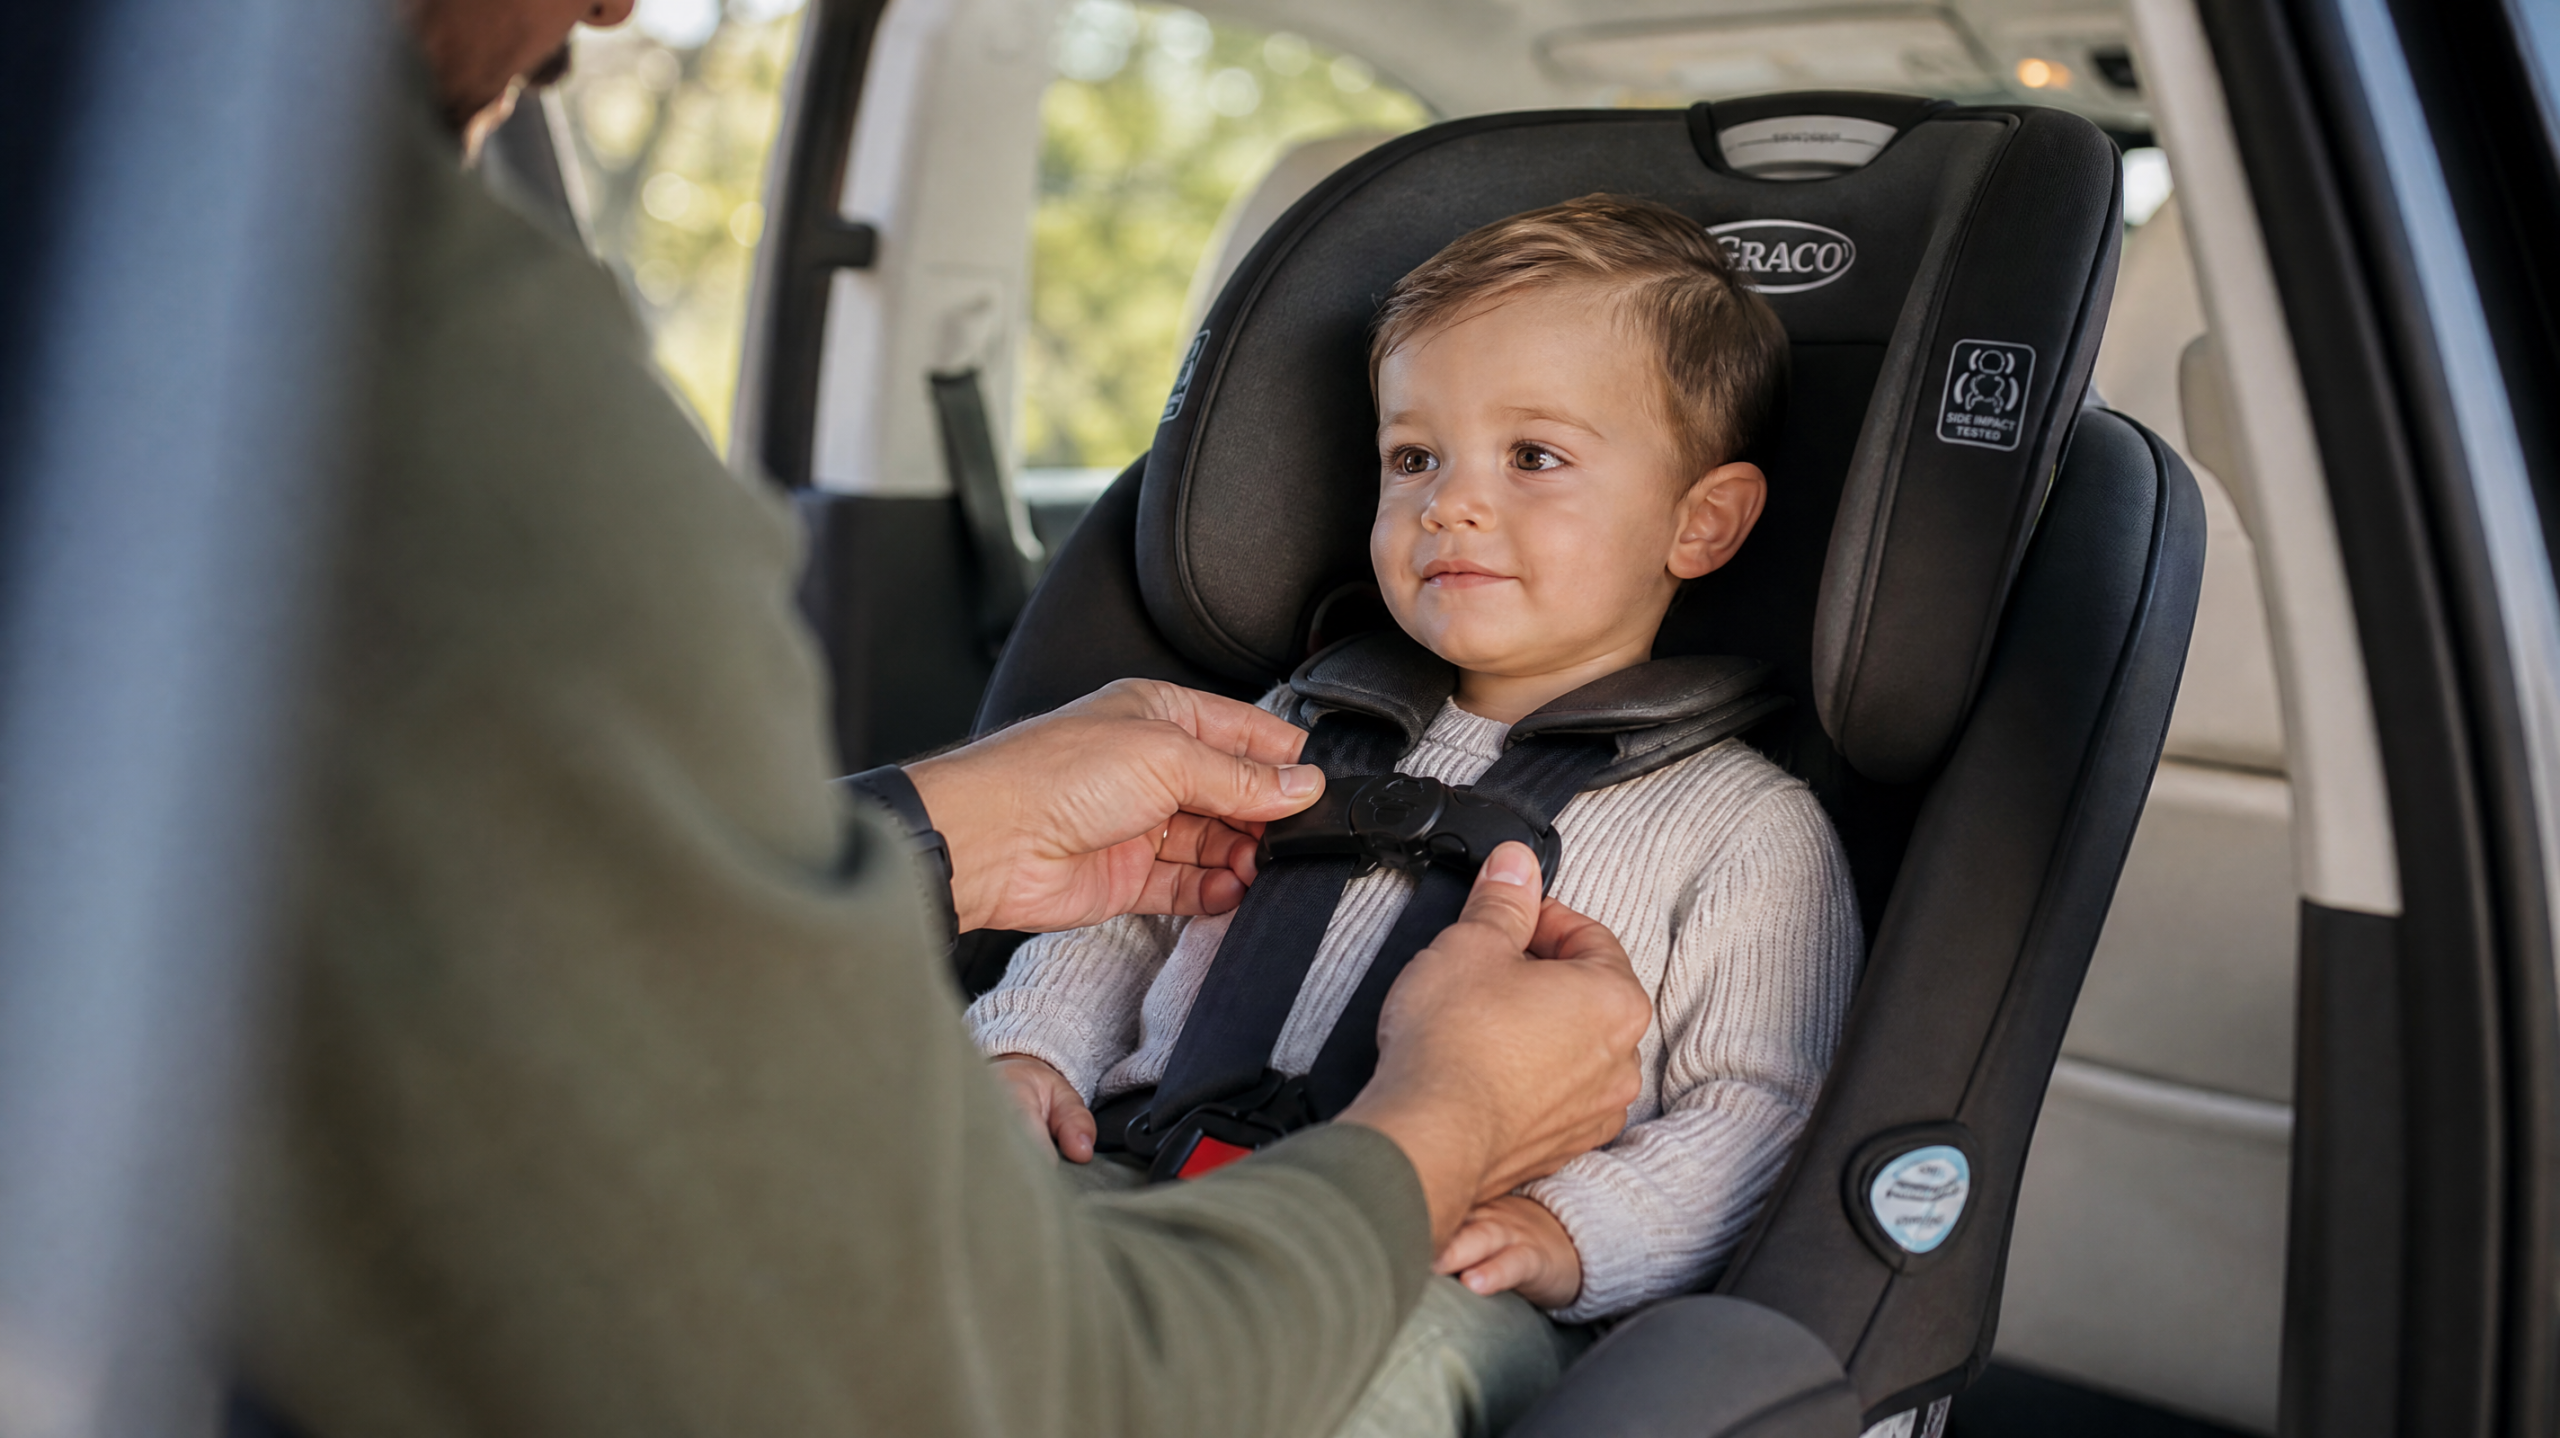
Mistake #4: The Chest Clip and Straps Are in the Wrong Spot
The chest clip is small, slides easily, and is constantly in the wrong place. It belongs at armpit level — centered on the chest, even with the armpits. Riding too low, down on the belly, it can let a child be ejected from the harness in a crash; riding too high, against the throat, it risks neck injury. It’s a two-second thing to check before every drive, and it’s wrong astonishingly often.
The harness slot height matters just as much and changes as your child grows. For a rear-facing seat, the straps should come from the slots at or just below your child’s shoulders. For a forward-facing seat, they should come from slots at or just above the shoulders. Straps should always lie flat and untwisted. Because kids grow continuously, check the slot height every few months and rethread the harness as needed — it’s easy to set it once and forget that your child has climbed past it.
Mistake #5: Skipping the Top Tether
When you install a forward-facing seat with a harness, there’s one more strap that a large number of parents never connect: the top tether. It runs from the top of the car seat to a dedicated anchor point in your vehicle (check your owner’s manual for its location — often on the rear shelf, seatback, or cargo area). Its job is critical: in a frontal crash, the tether dramatically limits how far your child’s head pitches forward, by several crucial inches. Forgetting it is one of the most common forward-facing errors. One caveat: the top tether is generally for forward-facing installation; most rear-facing setups don’t use it unless your seat’s manual specifically calls for it.
Mistake #6: Graduating to a Booster — or a Seat Belt — Too Early
Every transition to the “next stage” feels like progress, but each one actually steps a child down a level of protection — so each should happen as late as the child’s size allows, not as early as their age or impatience suggests. Keep a child in a forward-facing harnessed seat until they hit its height or weight limit. Then move to a booster, which exists for one purpose: to raise the child so the adult seat belt crosses their body in the right places. And keep them in that booster until the seat belt genuinely fits without it — which, for most kids, isn’t until somewhere around 4’9″ tall and age eight to twelve.
The trouble is that parents tend to judge readiness by age, and the numbers are sobering: by some research, only a small fraction of eight-year-olds actually pass the seat-belt fit test, yet many are moved to a plain belt at that age anyway. A belt that doesn’t fit a small body isn’t a minor compromise — a lap belt that rides up onto the soft abdomen can cause severe internal injuries in a crash, and a shoulder belt across the neck gets tucked behind the back or under the arm, removing its protection entirely. Use the five-step test below instead of the calendar. And remember the last piece: children should ride in the back seat until at least age 13, where it’s meaningfully safer.
The 5-Step Seat Belt Fit Test
A child is ready to leave the booster only when all five are true:
1. They sit all the way back against the vehicle seat.
2. Their knees bend comfortably at the edge of the seat.
3. The lap belt sits low across the upper thighs/hips — not the belly.
4. The shoulder belt crosses the center of the chest and shoulder — not the neck or face.
5. They can stay seated like this comfortably for the whole ride.
The Quieter Mistakes That Add Up
Beyond the big six, a handful of less-obvious errors deserve a quick check:
Wrong recline angle (rear-facing). A rear-facing seat that’s too upright can let a young baby’s head slump forward and compromise their airway. Use the seat’s built-in angle indicator or level line, and adjust until it’s within range — this is set incorrectly surprisingly often.
Expired or secondhand seats. Car seats have expiration dates (commonly six to ten years from manufacture — check the label on the shell), because plastics degrade and standards evolve. Avoid used seats unless you know their full history; a seat that’s been in a crash, even one that looks perfect, may be compromised.
Aftermarket accessories. Strap covers, head positioners, buckle guards, and seat protectors that didn’t come with your seat aren’t crash-tested with it and can interfere with how it performs. Skip anything not made or approved for your specific model.
Replacing after a crash. After a moderate or severe crash, replace the seat — and check your manual, since some manufacturers advise replacement after any crash at all. NHTSA does define narrow “minor crash” criteria under which a seat may be reused, but when in doubt, replace it.
Not registering for recalls. Register your seat with the manufacturer (or at NHTSA) so you’re notified if it’s ever recalled. It takes two minutes and is the only way you’ll reliably hear about a safety defect.
The One Move That Catches Them All
You don’t have to diagnose all of this alone. The most reliable way to find the mistakes you don’t know you’re making is to have your seat checked by a Certified Child Passenger Safety Technician (CPST) — a trained expert who will go over the installation, belt path, recline angle, harness fit, chest-clip position, and tether, and show you how to correct anything that’s off. These inspections are widely available and very often free, and NHTSA maintains a directory of inspection stations on its website. The most telling part of the experience is almost universal: even parents who were completely certain they’d done everything right walk away having fixed at least one thing.
That’s not a knock on those parents — it’s the whole point. Car seats are hard, the errors are invisible, and certainty is no protection against a mistake you can’t see. A twenty-minute check is the cheapest insurance there is for the most precious passenger you’ll ever carry.
Check the Seat You’re Sure Is Fine
If there’s one idea to take from all of this, it’s that confidence and correctness are not the same thing. The seat that looks perfect, feels tight, and has your child happily buckled inside can still be making one of these quiet mistakes — and you’d never know from the back seat. So go look, tonight: pull the seat at the belt path and feel for that inch of movement, run the pinch test, slide the chest clip up to the armpits, and ask whether your child really needs to face forward or sit on a plain seat belt yet.
Then, when you can, get those few minutes with a certified technician and let an expert catch what you can’t. None of this requires being a perfect parent. It just requires the humility to check — and the willingness to fix the one small thing that turns a seat that looks safe into a seat that is.
The most dangerous mistake is the one you’re sure you didn’t make.
This article is for general educational purposes and doesn’t replace your car seat and vehicle manuals or professional inspection. For authoritative, model-specific guidance, see NHTSA’s car seats and booster seats resources and its installation tips, and always follow the instructions for your specific seat.
Leave a Reply